Rule Builder

Introduction
Rule Builder allows you to add conditional logic to your Forms in a quick and intuitive way without using a single line of code. You simply need to add a number of conditions to fulfill to implement a number of actions such as hide/show HTML elements, enable/disable fields, copy fields values, skip pages and do math.
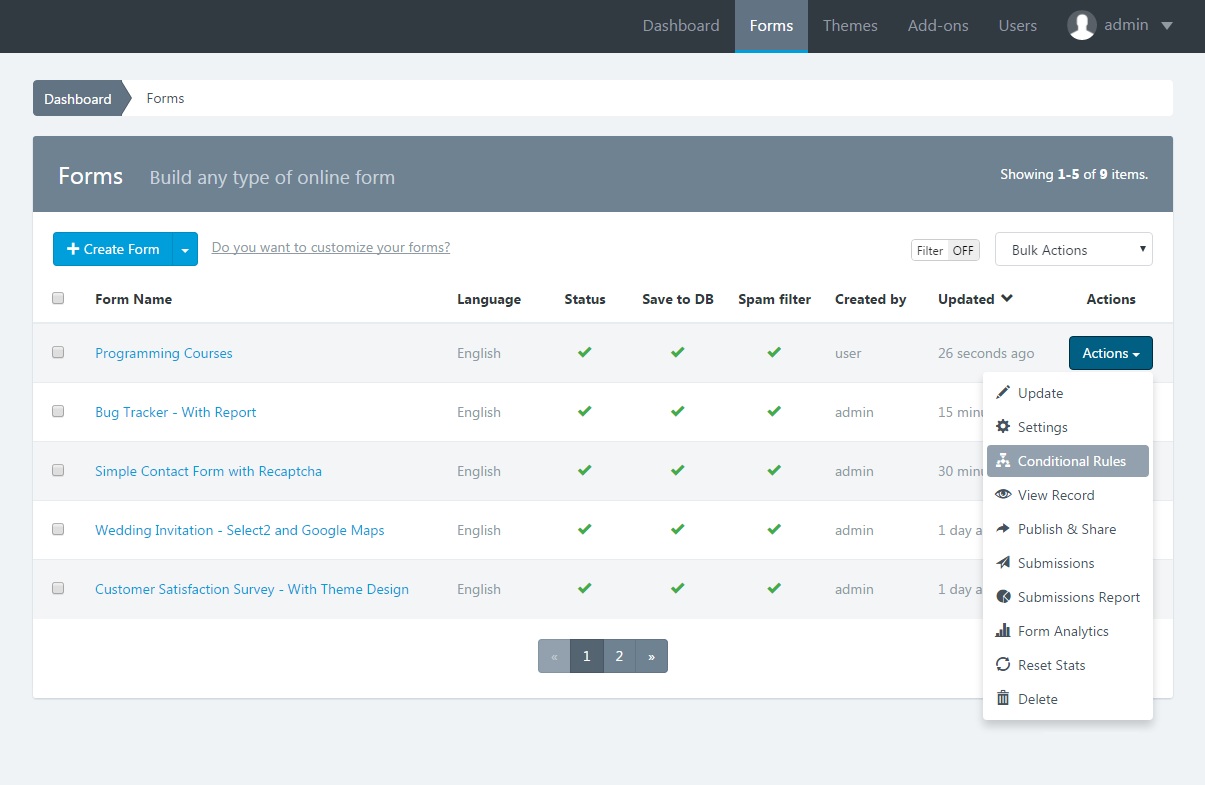
To access the Rule Builder you must go to Form Manager, click the Actions button corresponding to the form you will work, then Conditional Rules.
Requirements
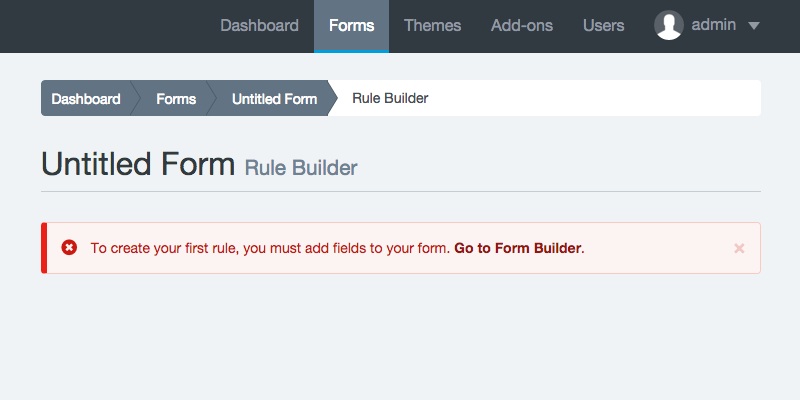
Before using the Rule Builder, your form must have at least one field. Otherwise, a warning message is displayed.
No limitations
You do not have any limitation to create conditional rules. You can create as many rules, conditions, sub-conditions and actions as required.
Add your first rule
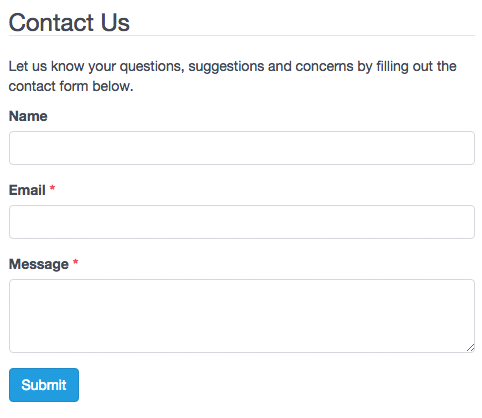
For this example, you should create a contact form with four fields:
- Name (text field)
- Email (email field)
- Message (text area)
- Button (with text Submit)
Then, go to Form Manager, locate your form, click on the Actions button, and then click Conditional Rules.
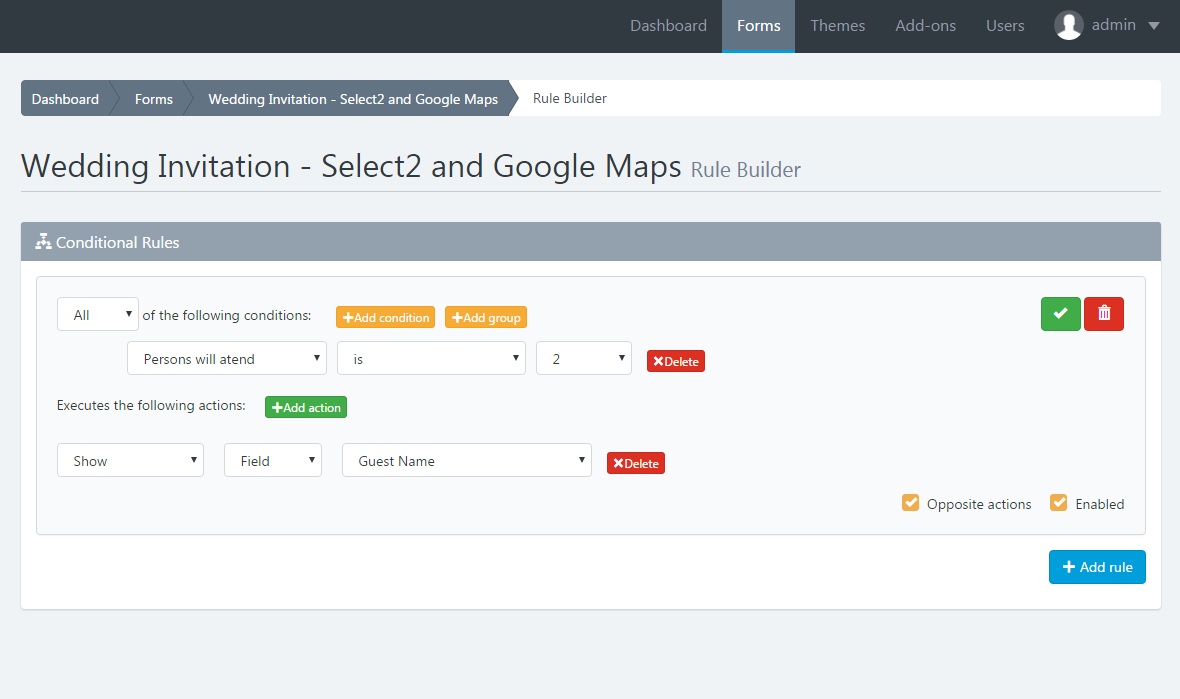
- Once in this Form Rule Builder, the first thing you will notice is a blank panel with the Add Rule button. Click this button to create your first rule.
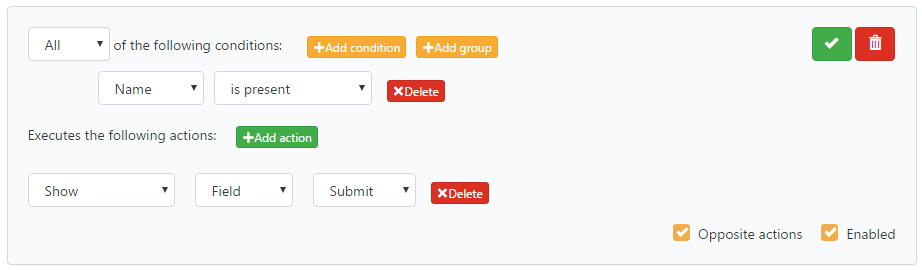
- Then you will see two lines, the first refers to the conditions and second to actions.
- Click the button Add condition and the first field of the form will appear, followed by a statement. In our example, the first field of the Form is a Text field with the ‘Name’ label, so the Rule Builder will show the condition ‘Name’ ‘is present’.
- Now click the button Add Action and notice that several selection lists appears. The first list shows the action to perform (For this example, leave in ‘Show’); the second shows the Type of result (For this example, leave ‘Field’) and the third, the first field label: ‘Name’. For this example, you will change it for ‘Submit’ (The text ‘Submit’ refers to the button).
- Finally, in the top right of this rule you will see a small orange warning “Unsaved Changes” and next a green button with the Check icon. Click on this button to save this rule. The warning will disappear.
You have created your first rule.
you should be aware that some rules are met bi-directionally; that is, if the condition is fulfilled the action is executed. But if the condition is not fulfilled the opposite action is executed (Show <=> Hide, Enable <=> Disable, Math <=> Reset to O).
You can add additional rules by clicking the Add Rule button, but this will not be saved until you press the green button. Remember that each rule is stored separately.
Note: To delete a rule, click the red button with the Trash icon. Also, if you want to stop executing a rule for a certain time, you can disable it and then enable it when you need it.
Rule Anatomy
All rules are composed of two parts: Conditions and Actions.
Conditions
It is the first part of a rule, is at the beginning and let you specify the field or fields that need to be evaluated, as the type of evaluation.
- Type of Condition: The condition type indicates how many conditions must be met to execute the action. It can be: All, Any or None. The default is All.
- Condition: Is the statement refer to a form field and must be fulfilled. It consists of 3 parts.
Name: The name of the form field on which the condition is based.
Operator: The comparison operator used to evaluate the condition.
Value: It is an arbitrary value that the user must enter to the Form. The way Values will be defined are going to vary according to the type of field and the type of operator. - Multiple conditions: You can add multiple conditions to a rule. The type of condition will indicate if all must be met (AND), if any (OR) or none.
- Group of conditions: In addition of conditions, a rule can contain a group of conditions. A group of conditions differs from a condition that allows changing the type of condition. So a rule can be of type All (AND), but the group can be of type Any (OR).
- Evaluation Process: The conditions evaluation process is top-down. That is, the conditions at the beginning will be evaluated before to those who are at the end, in descending order.
Note: Conditions “Belongs To” and “Does not Belongs To” can analyze multiple values separated by “|”, this allows you to compare the field value with multiple values, if one of them matches the action will be executed.
Actions
The second part of a rule indicates the action to be performed if the conditions are met. As conditions, actions have a declarative easy way to understand.
An action consists basically of three parts:
- Action Type:
- Show / Hide
- Enable / Disable
- Copy: Let you copy the value of a field or another element and paste it to another field automatically. A great example of where this is useful, is on a Form where you might be collecting a Shipping and Billing address. The end user could enter their Shipping address and check the Copy option to automatically fill the Billing Address Fields with the same data.
- Math: Allows Addition / Subtraction / Multiplication / Division / Remainder of fields and show the result in another field or HTML element.
- Number Format: Allows you to format a number in different ways and without any coding. For example, to give the currency format to a number: 10130.25 use the following format ‘$0,0.00’ and the number will now be displayed as $10,130.25. You can read the full list of formats that the Rule Builder supports thanks to the excellent Numeral.js library.
- Skip: To a page. This action should only be used in a Multi Step Form.
- Target: Will vary depending on the type of Action. It can be of two types:
- Field
- Element
- Name:
- If the Target is Field it will be the field name.
- If the Target is Element it will be among several HTML elements selected by jQuery. For instance:
- ‘#abc’: The target is the HTML element with ‘abc’ as ID.
- ‘.abc’: The target is all HTML elements with ‘abc’ as the CSS class.
- Oposite Actions: By default, opposite actions are enabled because they help the creation of conditional rules and made them more logic. For example, if after meeting a condition I want to show a field then clearly by not meeting the condition I want this field hidden. However, there are occasions when the disabling of opposite actions can be helpful. When this happen only the action described in the rule will be executed.
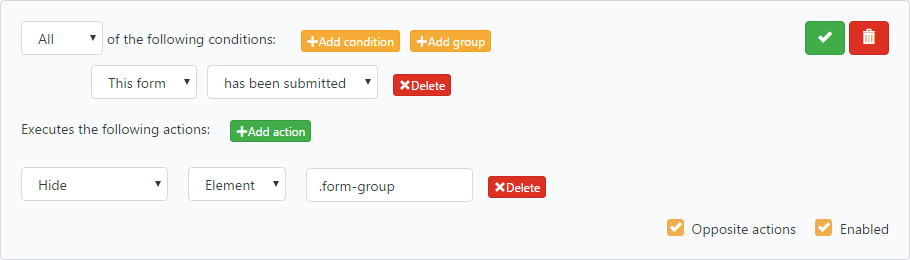
Note that the use of elements requires a basic knowledge of jQuery, but offers big advantages. For example, you could create an action to hide all the form fields; 'Hide' 'Element' '.form-group'.
Note: You can identify the ID and CSS Class of the form fields using the Code tab of the Form Builder.
Conditional Validation
You can omit a required field validation by using conditional rules in two ways:
- When the field is hidden.
- When the field belongs to a page that has been skipped.
For example, if a field is created with the Form Builder and in the conditional rules is defined that this field should only be displayed if another field meets a condition and the condition is not met, then the first field will no longer be required (will not be validated by the server).
Note: To use Conditional Validation, the client side validation must be disabled. (See Form Settings -> No validate))